
If you’re here, you probably already know what Homebrew is. But if not, here’s a quick recap:
Homebrew is a package manager for macOS. It lets you easily install, manage, and update software using simple Terminal commands.
In this tutorial, I’ll show you how to install Homebrew on the latest version of macOS.
Tutorial
- Step 1: Visit the official Homebrew website at brew.sh, and click the clipboard icon to copy the installation command.

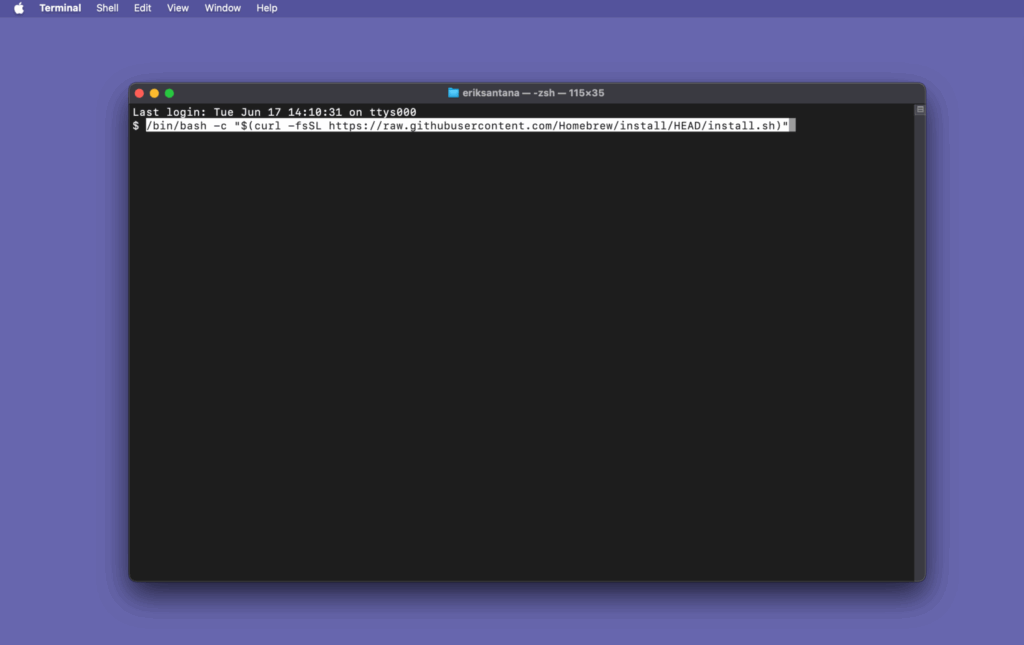
- Step 2: Open Terminal (you can find it by searching “Terminal” in Spotlight), and paste the installation command from brew.sh.
You’ll be prompted to enter your admin (sudo) password. Type it in, press Enter, and let the installation complete.
Once finished, Homebrew will display two additional lines you need to copy and paste into the Terminal. These commands add Homebrew to your PATH — which simply tells your system where the brew command is located.
It will look something like this:
(echo; echo ‘eval “$(/opt/homebrew/bin/brew shellenv)”’) >> /Users/your_username/.zprofile eval
“$(/opt/homebrew/bin/brew shellenv)”
Once you’ve run those two lines, your Homebrew installation is complete.
To confirm everything is working correctly, run the following command in Terminal:
brew doctorYou might see some warnings, but most of them are not critical.
As long as you see a message saying “Your system is ready to brew”, you’re good to go!
Useful Commands
To search for an application:
brew search app_nameTo install an application:
brew install app_nameTo remove an app:
brew remove app_nameTo list your installed applications:
brew listTo update Homebrew:
brew updateTo upgrade your apps:
brew upgradeTo clean up residual app binaries:
brew cleanup